Table of Contents
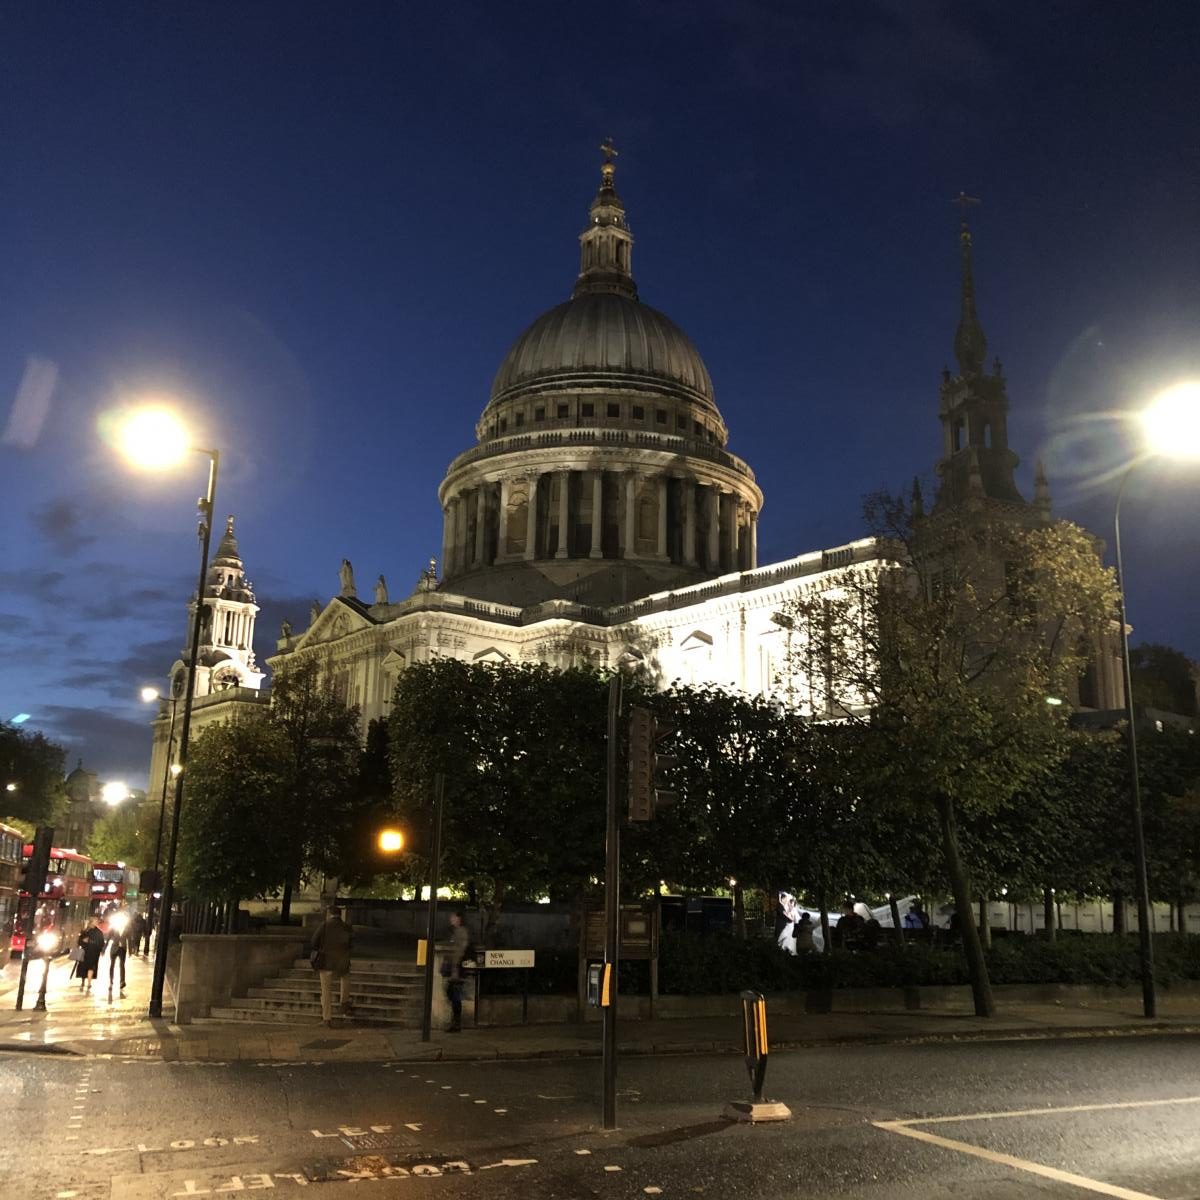
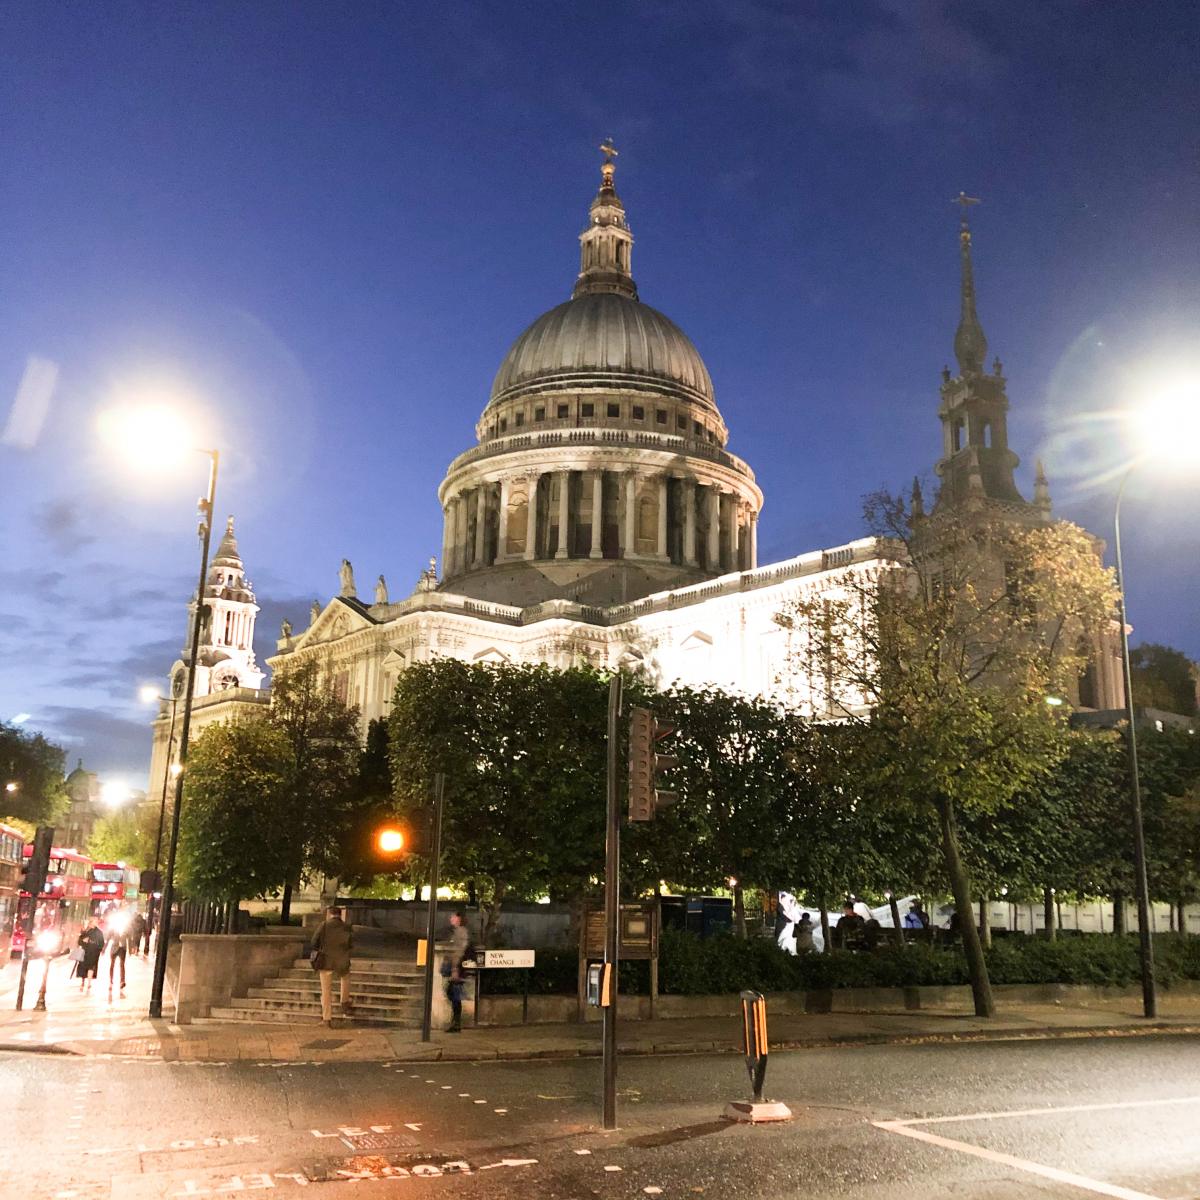
Believe it or not the photo below is the original of the featured image for this post. That is the power of Lightroom presets for you. I know some photos need to be edited differently but sometimes a preset can be a good starting point.
*This post does include links to my own presets but the info can be applied to any Lightroom preset that you’ve purchased from a creator.
Yes, there are two sections to this blog post, the first is how to create your own Lightroom presets but the other is how to install purchased DNG files on Lightroom for mobile. The best bit about Lightroom for mobile is that you don’t need a subscription to be able to use it and as it’s an app you can edit your photos on the go. I’ll often edit photos and plan my Instagram feed on the bus on the way to or from work as it means I’m kept busy for 45 minutes and it means I’m not just endlessly scrolling through apps.
Create Your Own Lightroom Presets
Creating your own preset is actually fairly simple especially if you make the same edits to your photos every time you use Lightroom. If you do this then creating a preset is definitely the way forward for you. I’ll pop the steps below as a list as it’s actually easier than it sounds.
- Upload your photo to Lightroom
- Make all edits to the photo – I assume that it’s the same edits you make to every photo
- In the mobile app click the three dots at the top right-hand side and choose Create Preset from the menu.
- Here you can name your preset and remove/add any changes that should or shouldn’t be there.
- To save your preset hit the tick at the top right-hand side of your screen. This adds your preset to the User Presets menu and now you can use your preset with any photo you add to Lightroom. What’s even better is if you have a Creative Cloud Subscription.
Install Lightroom Presets
Most presets will download as a DNG file. The best thing you can do is save the file to Google Drive. If you’re using a phone or tablet it is do-able but I would recommend using a desktop to add the file to the cloud and then access it from your phone when you want to add it to Lightroom. If you do want to do it all from your phone I’ve found a great tutorial that you can follow to do it properly.

Again I’ll be writing the steps for adding a preset to Lightroom as a list as I feel they can be easier to follow.
- You want to add an album to Lightroom. You do this by hitting the + at the bottom on the right-hand side. Name the album presets as this is the easiest way to keep them all together.
- Import the DNG file to Lightroom. In the album, you’ve created press the button to upload an image but choose From Files rather than From Camera Roll.
- On my phone, this opens iCloud Drive but you can add Google Drive to this and access all your folders. This is why adding the DNG file to a cloud drive is so important. Find the preset file you wish to add and this will import into your library.
- From here follow steps 3-5 in the instructions above. I’ve copied them to below to save you scrolling back to find them.
- In the mobile app click the three dots at the top right-hand side and choose Create Preset from the menu.
- Here you can name your preset and remove/add any changes that should or shouldn’t be there.
- To save your preset hit the tick at the top right-hand side of your screen. This adds your preset to the User Presets menu and now you can use your preset with any photo you add to Lightroom. What’s even better is if you have a Creative Cloud Subscription.
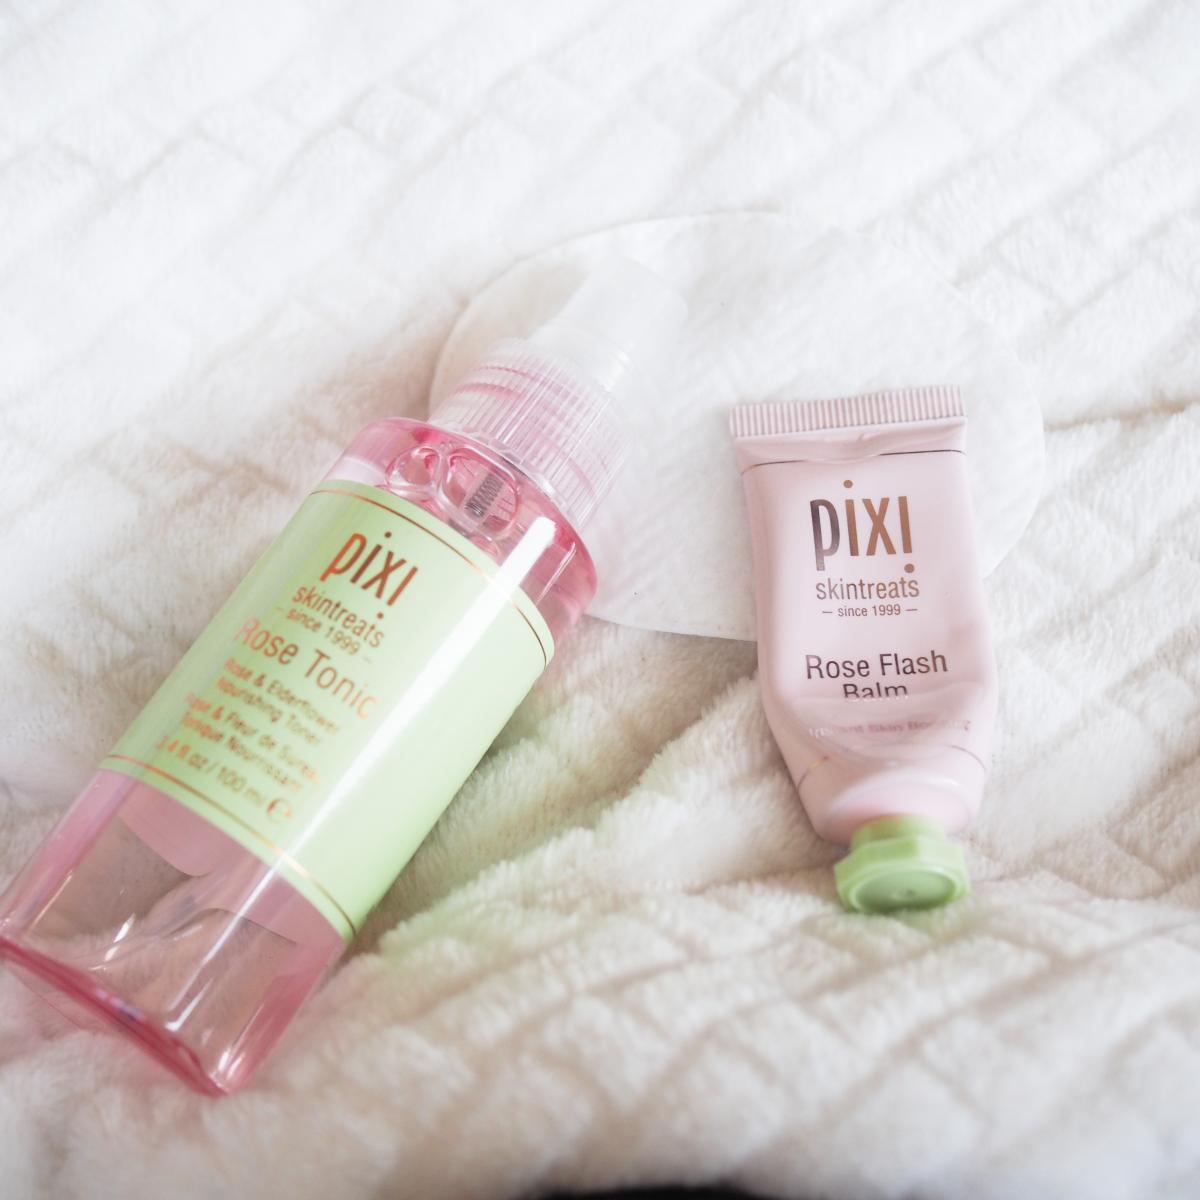
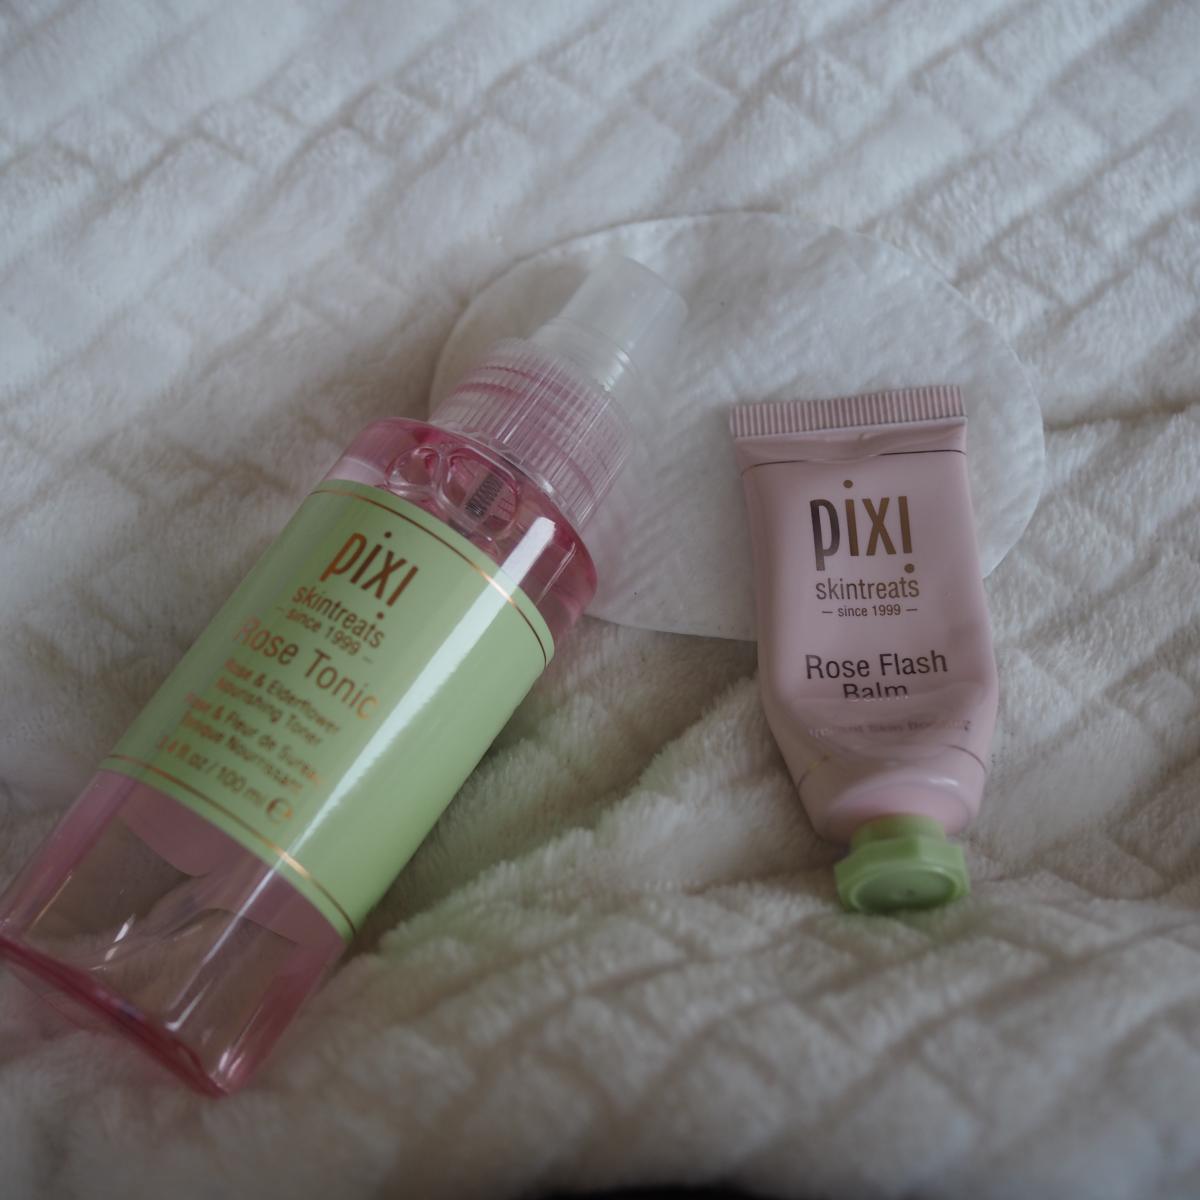
It’s really that simple to create or add a Lightroom Preset to your app. If you liked the preset in the example above you can now buy it from my store too. There will be more added so keep checking. The images below are a sneak preview of how you’ll be able to brighten photos taken at night.